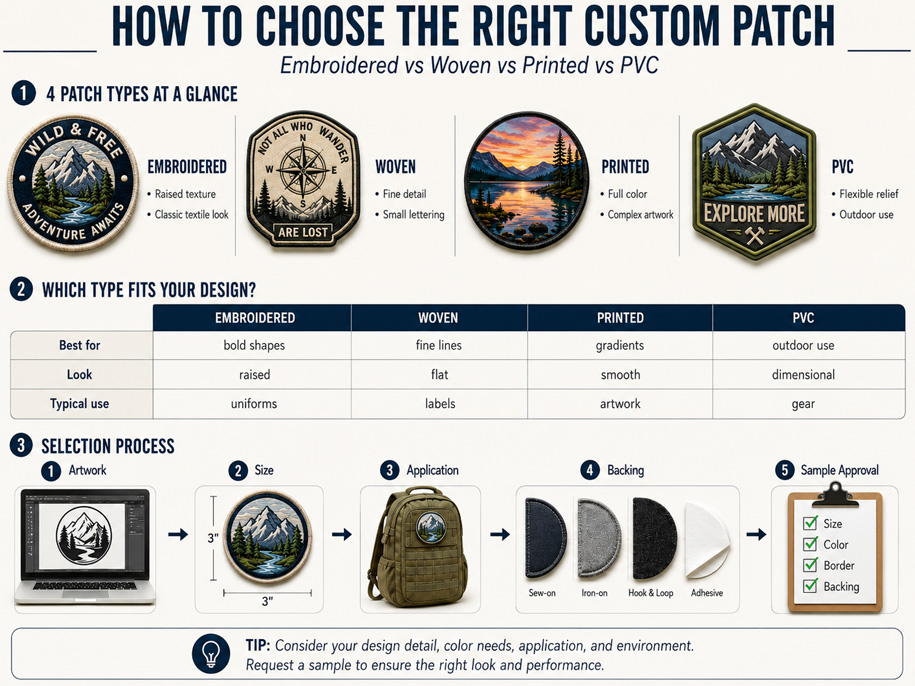
The Process of Making Embroidered Patches
Embroidery patches are a great way to add a touch of personalization to your backpack, jacket, or shirt. These patches can also be used for identification, team logos, or company branding. The process of producing embroidery patches involves precision, skill, and a lot of patience. In this article, we will discuss the step-by-step process of producing embroidery patches.
Step 1: Digitizing the Design
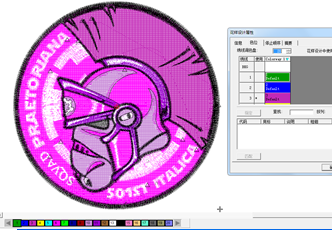
The first step in producing an embroidery patch is to digitize the design. This involves taking a picture or logo and converting it into a digital format that can be read by embroidery machines. A software program is used to create a digital embroidery file known as a "stitch file." The quality of the digitized design is crucial to the final product.
Designers have to choose the appropriate stitch type, density, and direction to achieve the ideal look for the patch. The software program also calculates the number of stitches that will be needed to create the patch accurately. The digitized file is loaded onto the embroidery machine, which reads the file and translates it into stitch patterns.
Step 2: Match the Color
The next step in producing embroidery patches is to match the colors in the original design accurately. This involves selecting the right thread color and adjusting the embroidery machine settings to create an accurate representation of the original design's colors.
Most embroidery machines can handle up to twelve different colors of thread at a time. The stitch file contains a list of the colors required for the design, and the operator matches these colors with the threads on hand.
Step 3: Embroider it on the Machine
Once the digitized design and color selection are complete, the embroidery machine is ready to operate. Before starting the embroidery process, the operator needs to ensure that the fabric is appropriately stabilized and positioned correctly.
The machine will then begin to embroider the patch, following the stitch file's instructions. The process of embroidering an embroidery patch can be slow and time-consuming, depending on the size and complexity of the design.
Step 4: Gluing and Cutting
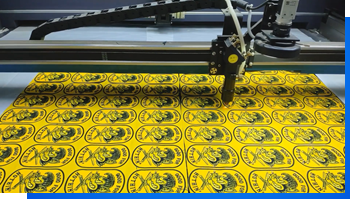
After the embroidery process, the patch must be cut and finished. The patches are usually cut using scissors, rotary blades, or laser cutters. The method of cutting depends on the design's complexity, the type of fabric used, and the quantity of patches required.
After cutting, the patches must be cleaned and inspected for quality. The final step in producing embroidery patches involves gluing the patch onto a backing material. The backing material supports the patch and provides stability for attachment purposes.
There are three types of backing materials, namely adhesive, iron-on, and sew-on. Adhesive backing involves applying an adhesive layer to the back of the patch, making it easy to attach the patch to any surface. Iron-on backing uses heat to fuse the patch onto the fabric while sew-on backing involves manually stitching the patch onto the surface.
 |
 |
 |
 |
 |
The process of producing embroidery patches involves several steps, including digitizing the design, matching colors, embroidering, cutting, and gluing. Each step requires precision and skill to produce an accurate and high-quality patch.
What is Woven Patches?
The Usage of Embroidery Patches and How to Apply to Clothing
Related Article