


Custom Glow In The Dark Embroidered Patches
Quantity:
J241226
Embroidered patches that glow in the dark are often made by using phosphorescent thread or a special phosphorescent material that is applied on top of the embroidery. This material can absorb and store light energy during the day and then release it in the form of a glow at night. The glow will be visible in low-light conditions and can enhance the visibility of the patch and the wearer during nighttime activities. Some popular designs for glow-in-the-dark embroidered patches include logos, animals, and symbols for outdoor enthusiasts, emergency services, and military personnel.
Many people prefer the white glow effect because it emits a bright, clear, and easily recognizable glow that is visible from a distance. The white glow tends to be more intense and long-lasting compared to other colored glows, which can quickly fade and become less visible over time. Additionally, the white glow effect can provide a classic and timeless look to the embroidered patch design, making it suitable for a wide variety of purposes. Whether you want to use a patch with a white glow effect for fashion or safety purposes, it can be a great way to make yourself or your logo stand out in the dark.
Many people prefer the white glow effect because it emits a bright, clear, and easily recognizable glow that is visible from a distance. The white glow tends to be more intense and long-lasting compared to other colored glows, which can quickly fade and become less visible over time. Additionally, the white glow effect can provide a classic and timeless look to the embroidered patch design, making it suitable for a wide variety of purposes. Whether you want to use a patch with a white glow effect for fashion or safety purposes, it can be a great way to make yourself or your logo stand out in the dark.
Custom Embroidered Patches
| Material | Fabric backing and thread |
| Product | Custom Embroidered Badges/ Custom Embroidered Patches |
| Technique | Iron on/ PVC backing/ Self-adhesive tape/ Velcro |
| Color | 12 colors |
| Logo | Custom |
| Size | Custom |
| Usage | Gifts, Cloth, Bags, shoes, HAT |
| Time Lead | about 2-3 daysfor digital making, about 7-10 days for production |
custom embroidered badges
Embroidered Bagdes with Glow in Dark
Custom embroidered badges with glow in the dark are custom embroidered patches that feature a special material that can absorb and radiate light, making them visible in low light or complete darkness.
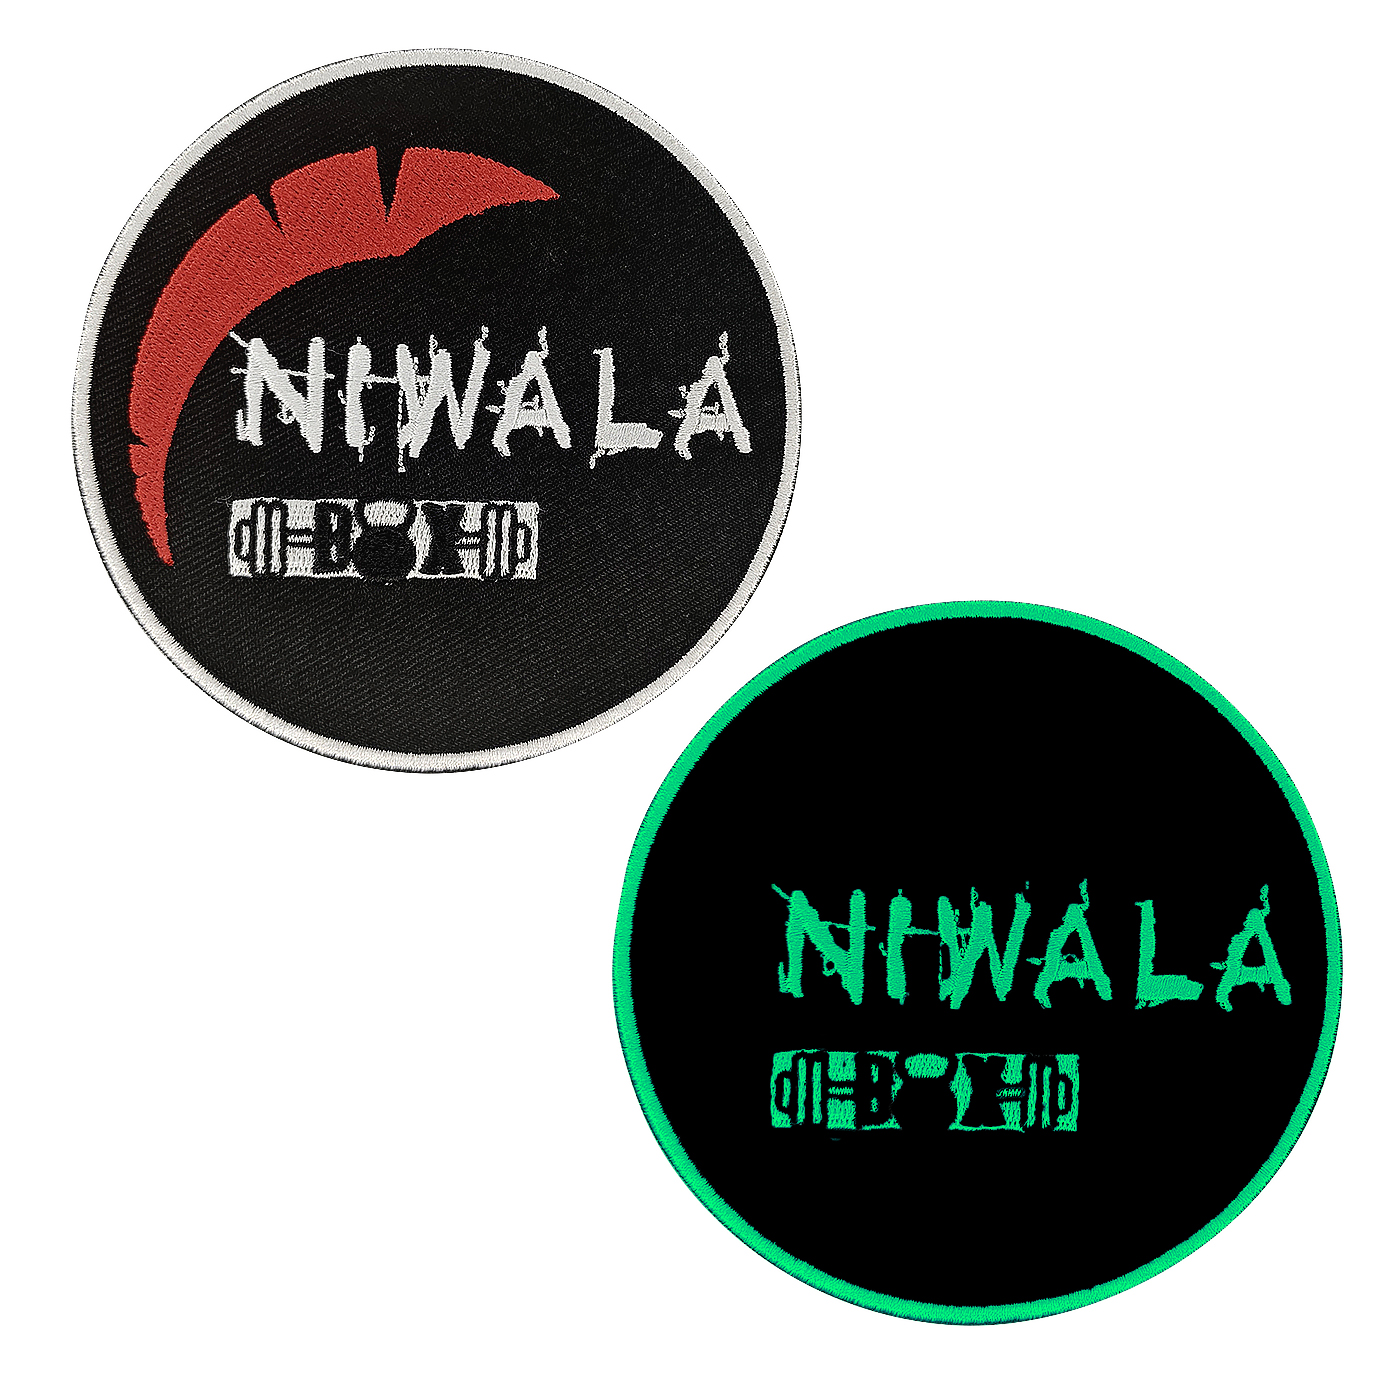
CUSTOM EMBROIDERED BADGES
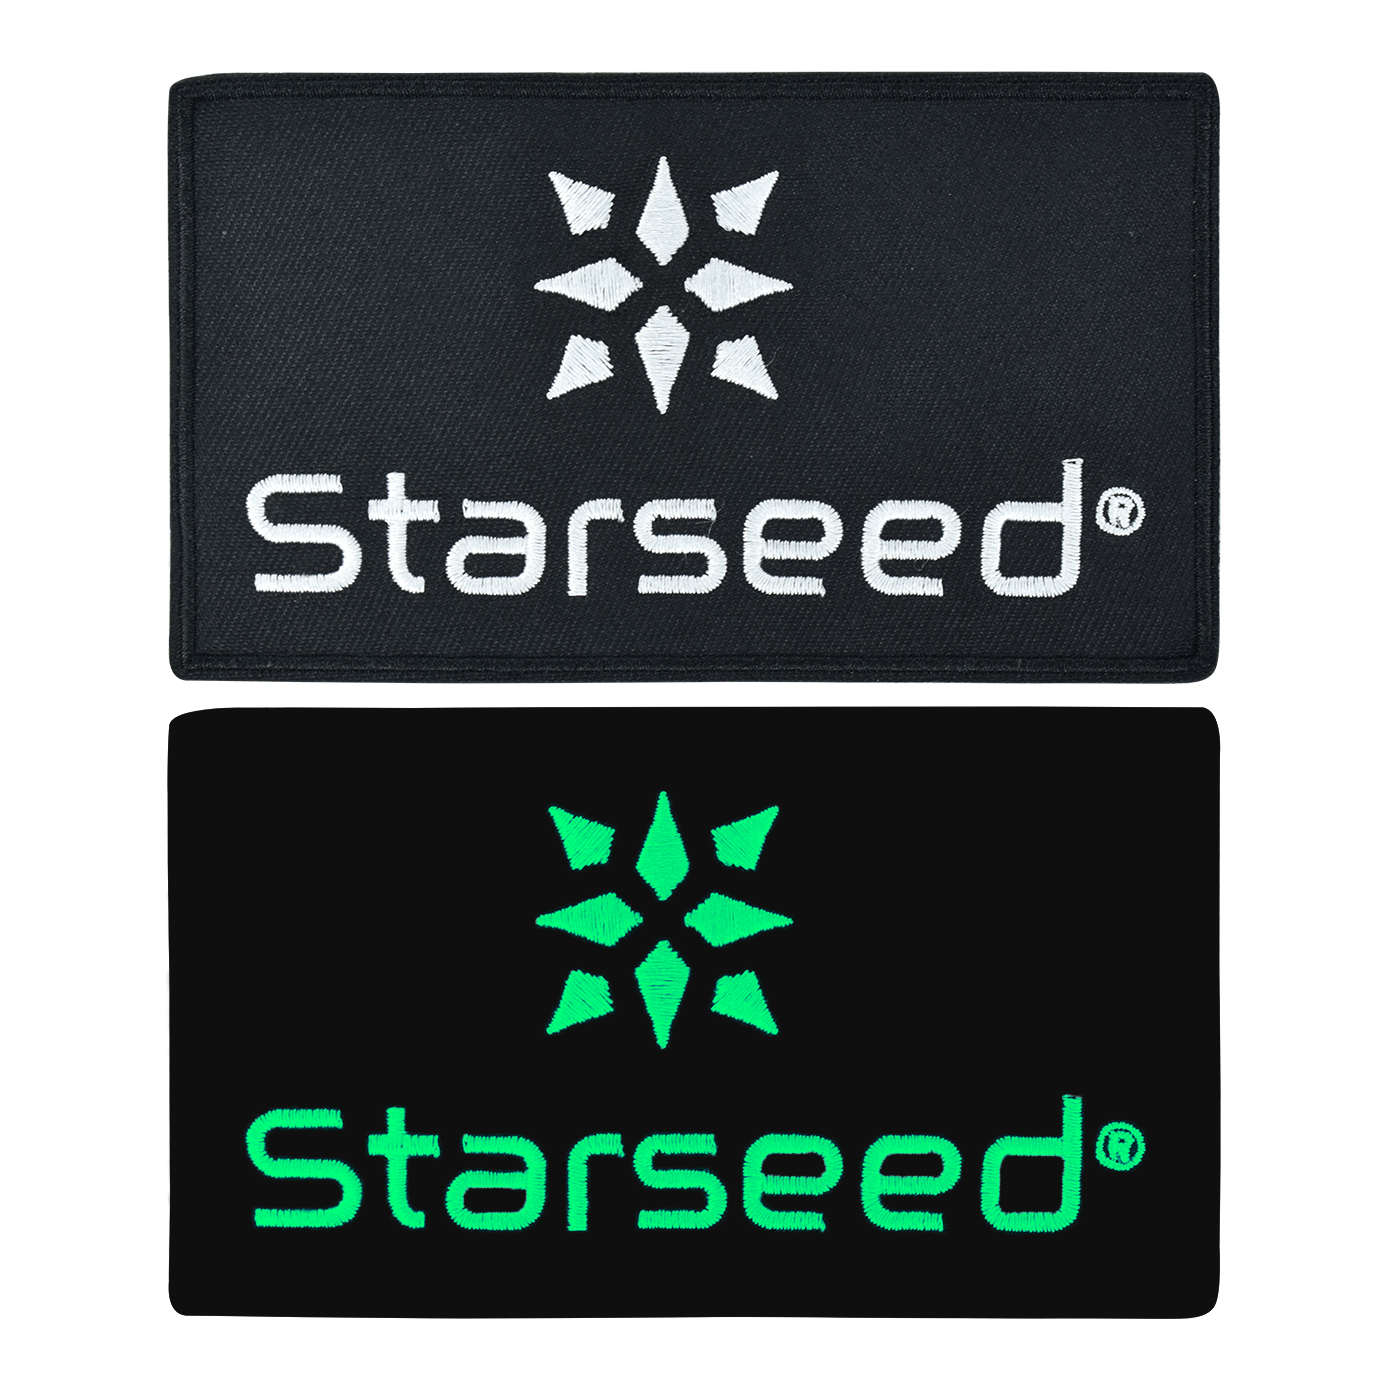
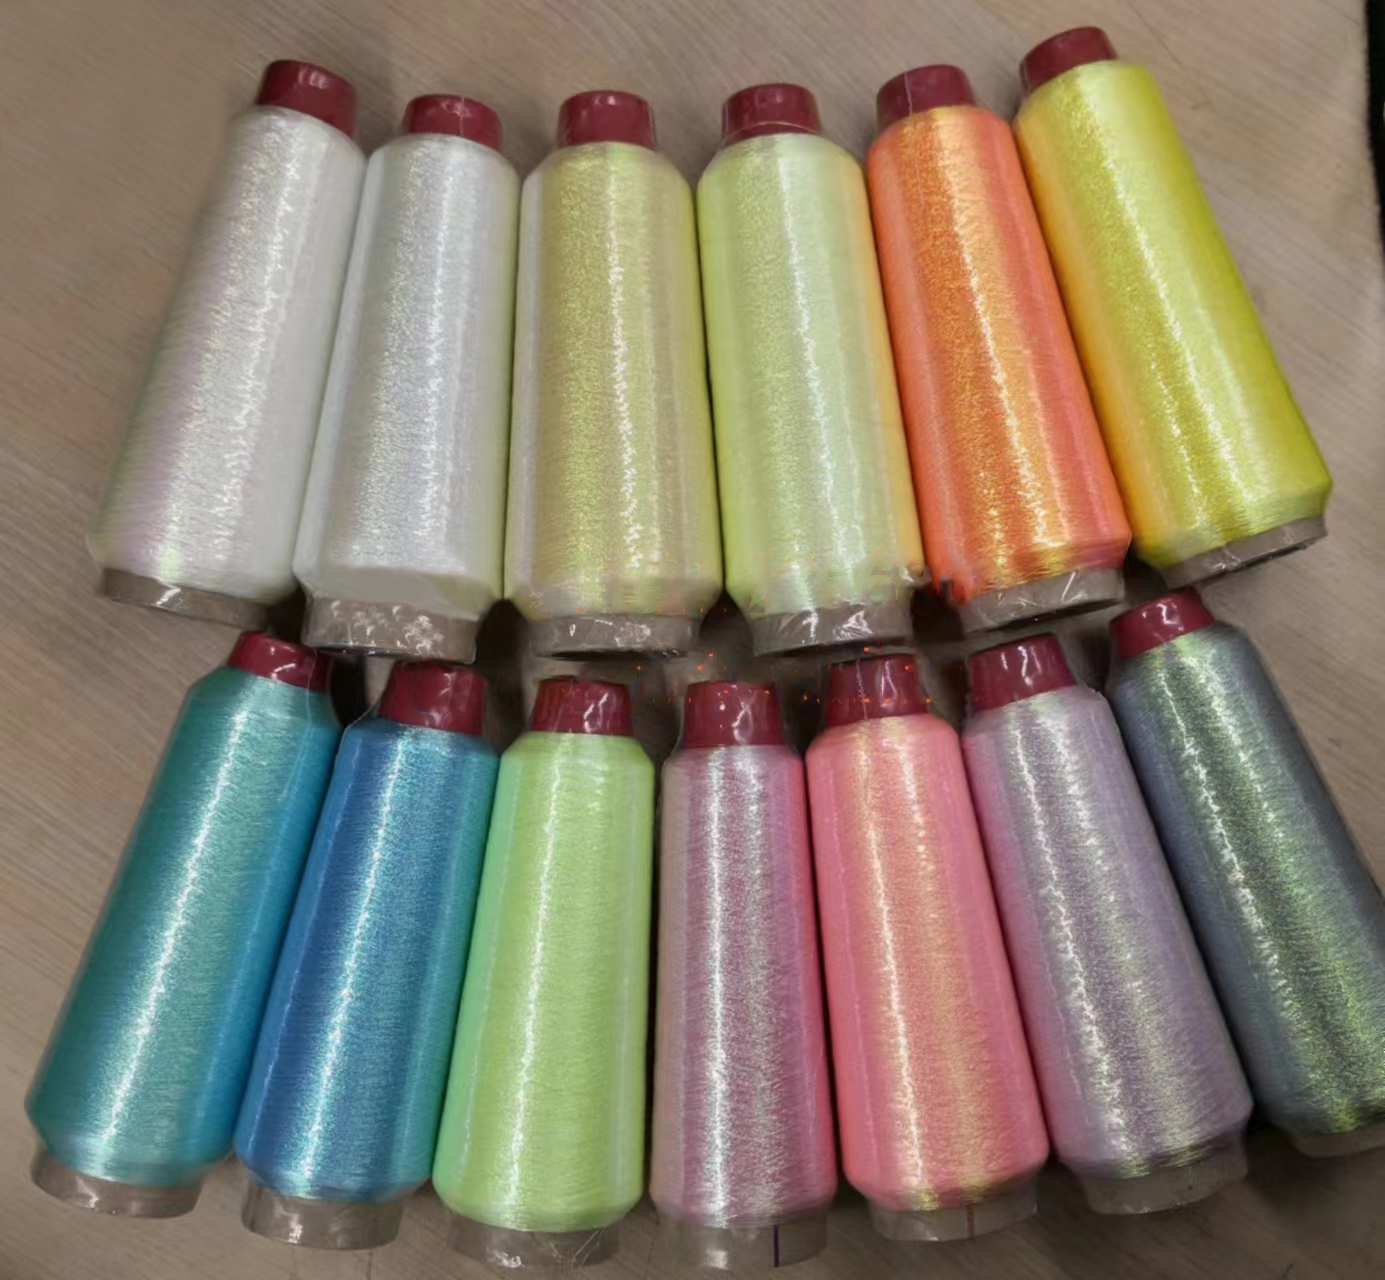
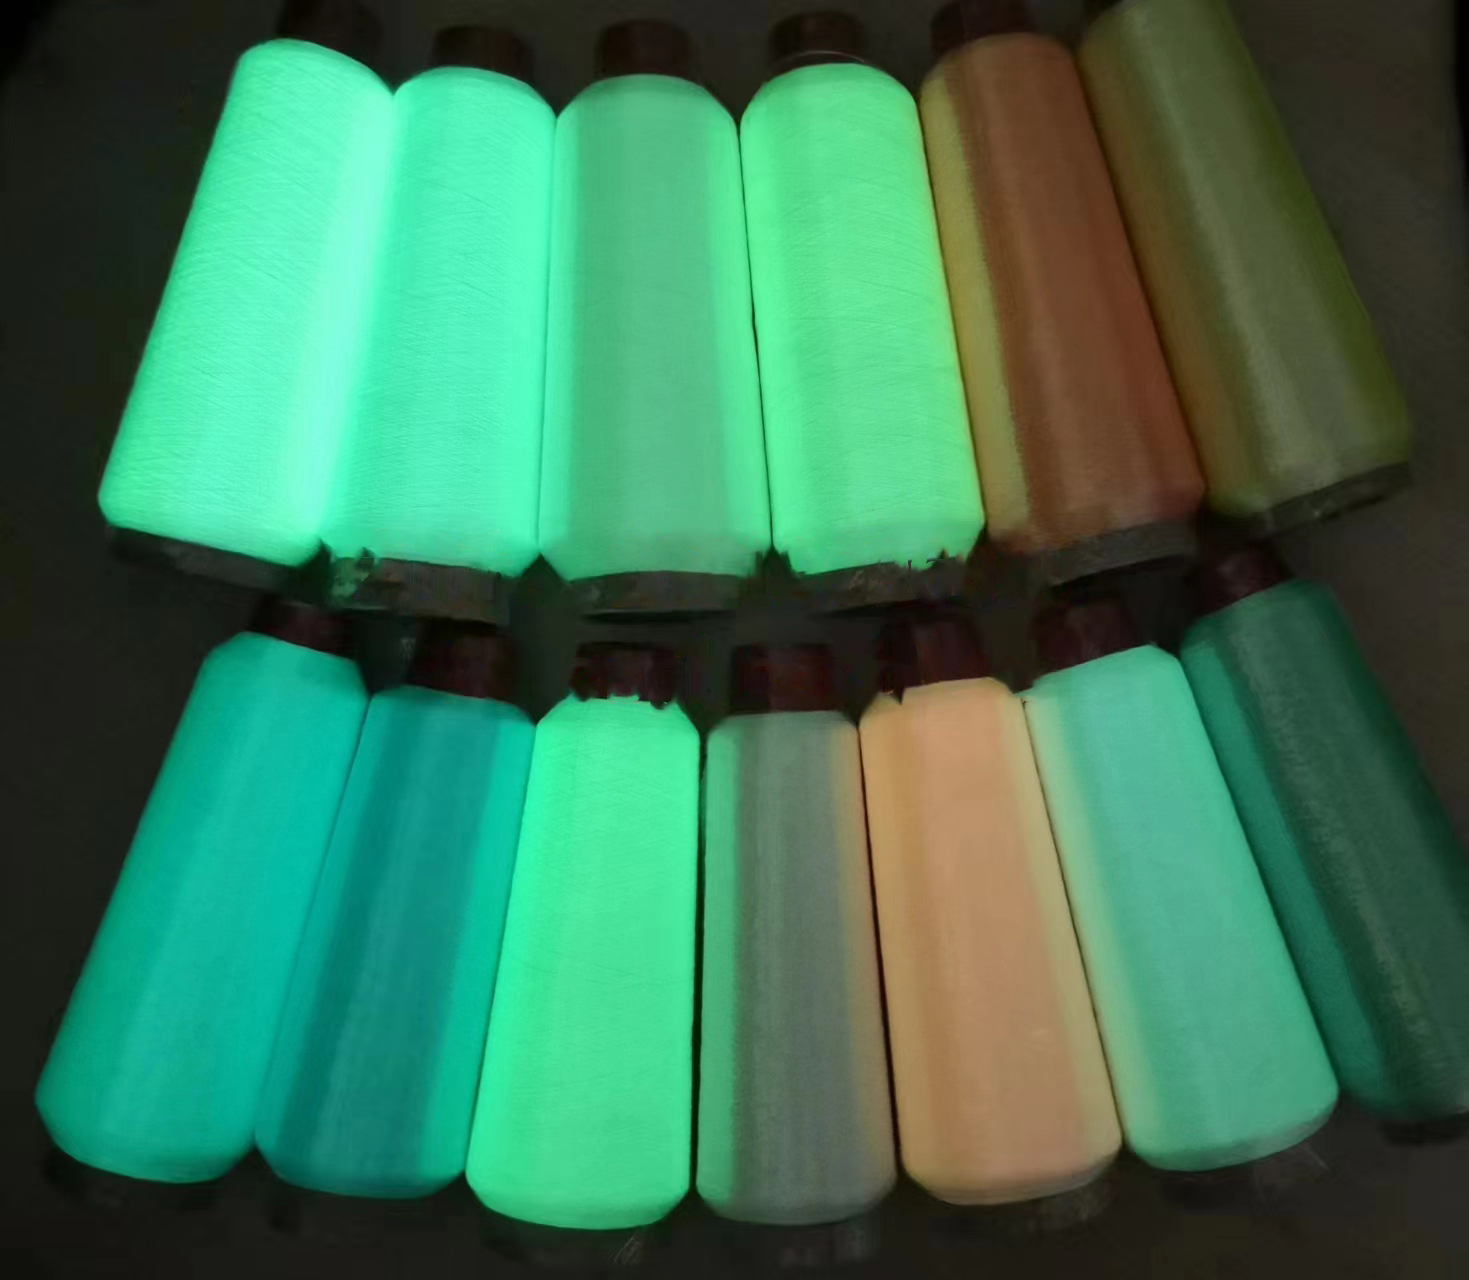
In most cases, custom embroidered badges glow in the dark, we recommend using white thread with a glow effect
Other colors are also acceptable, but may not be as prominent as the white thread.
How to Use Custom Embroidered Patches
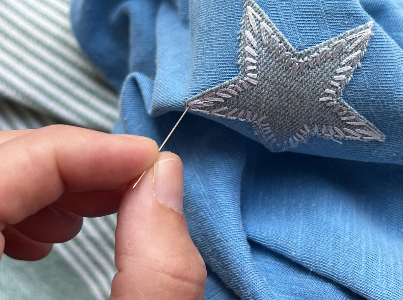
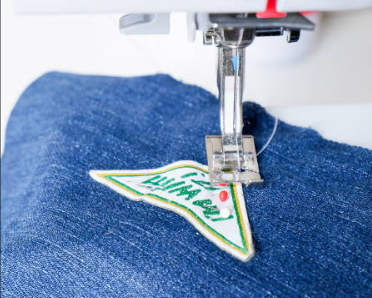
Sew it on
1. Choose the placement for the custom embroidered patches on the cloth. Before sewing the patch, make sure to decide where on the cloth you want it. Once you've identified the location, place the custom embroidered badges onto the fabric to check the fit and alignment.
2. Thread a needle. Choose a thread color that matches the color of your custom embroidered patches or the fabric you’re sewing it onto. Thread the needle and tie a knot at the end.
3. Start sewing. Insert the needle up through the back of the cloth and your custom embroidered badges, and pull the thread through until the knot is snug against your embroidered patches. Take another stitch forward, and then back through the cloth and embroidered badges. Continue stitching around the edge of the embroidered badges, about 1/8 inch away from the edge.
2. Thread a needle. Choose a thread color that matches the color of your custom embroidered patches or the fabric you’re sewing it onto. Thread the needle and tie a knot at the end.
3. Start sewing. Insert the needle up through the back of the cloth and your custom embroidered badges, and pull the thread through until the knot is snug against your embroidered patches. Take another stitch forward, and then back through the cloth and embroidered badges. Continue stitching around the edge of the embroidered badges, about 1/8 inch away from the edge.
4. Knot the thread. Once you've gone all the way around your custom embroidered patches, knot the thread by making a small stitch and then taking the needle through the loop, pulling it tight. Cut off the excess thread.
5. Finish the edges. If you want to make your custom embroidered badges more secure or to prevent fraying, you can use a sewing machine or do it by hand to stitch a zigzag edge around the custom embroidered patches or custom embroidered badges.
5. Finish the edges. If you want to make your custom embroidered badges more secure or to prevent fraying, you can use a sewing machine or do it by hand to stitch a zigzag edge around the custom embroidered patches or custom embroidered badges.
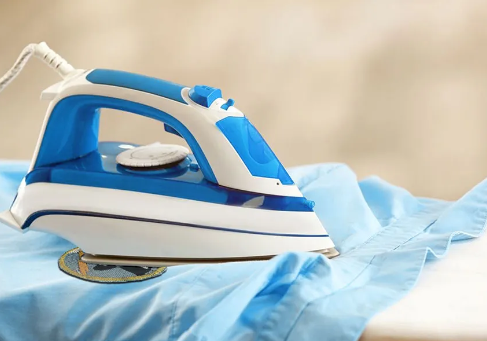
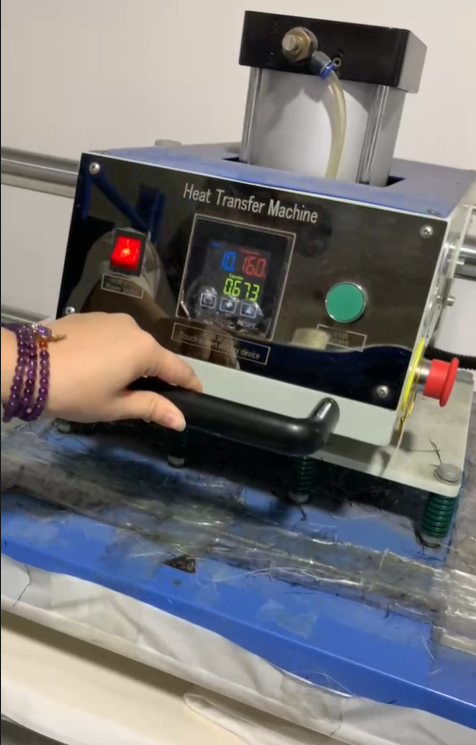
Iron it on
1. Determine the placement of your custom embroidered badges onto the fabric. Make sure to pick a suitable location where the custom embroidered badges won’t interfere with any zippers, pockets, or other clothing features.
2. Set up the iron. Turn your iron to the cotton or high heat setting, with no steam.
3. Place the patch onto the clothing. Press the embroidered side of your custom embroidered patches onto the garment and make sure it is centered and aligned correctly.
4. Cover the patch with a thin towel. This step will help protect your custom embroidered patches move it slowly in a circular or back-and-forth motion for 30-60 seconds.
6. Check the custom embroidered badges. After ironing, lift the towel and check to make sure the custom embroidered badges has adhered to the fabric. If it hasn't, repeat steps 4-5.
7. Let the patch cool down. Allow the patch to cool for 5-10 minutes before wearing or handling it.
2. Set up the iron. Turn your iron to the cotton or high heat setting, with no steam.
3. Place the patch onto the clothing. Press the embroidered side of your custom embroidered patches onto the garment and make sure it is centered and aligned correctly.
4. Cover the patch with a thin towel. This step will help protect your custom embroidered patches move it slowly in a circular or back-and-forth motion for 30-60 seconds.
6. Check the custom embroidered badges. After ironing, lift the towel and check to make sure the custom embroidered badges has adhered to the fabric. If it hasn't, repeat steps 4-5.
7. Let the patch cool down. Allow the patch to cool for 5-10 minutes before wearing or handling it.
Hook side and Loop Side(custom embroidered patches)
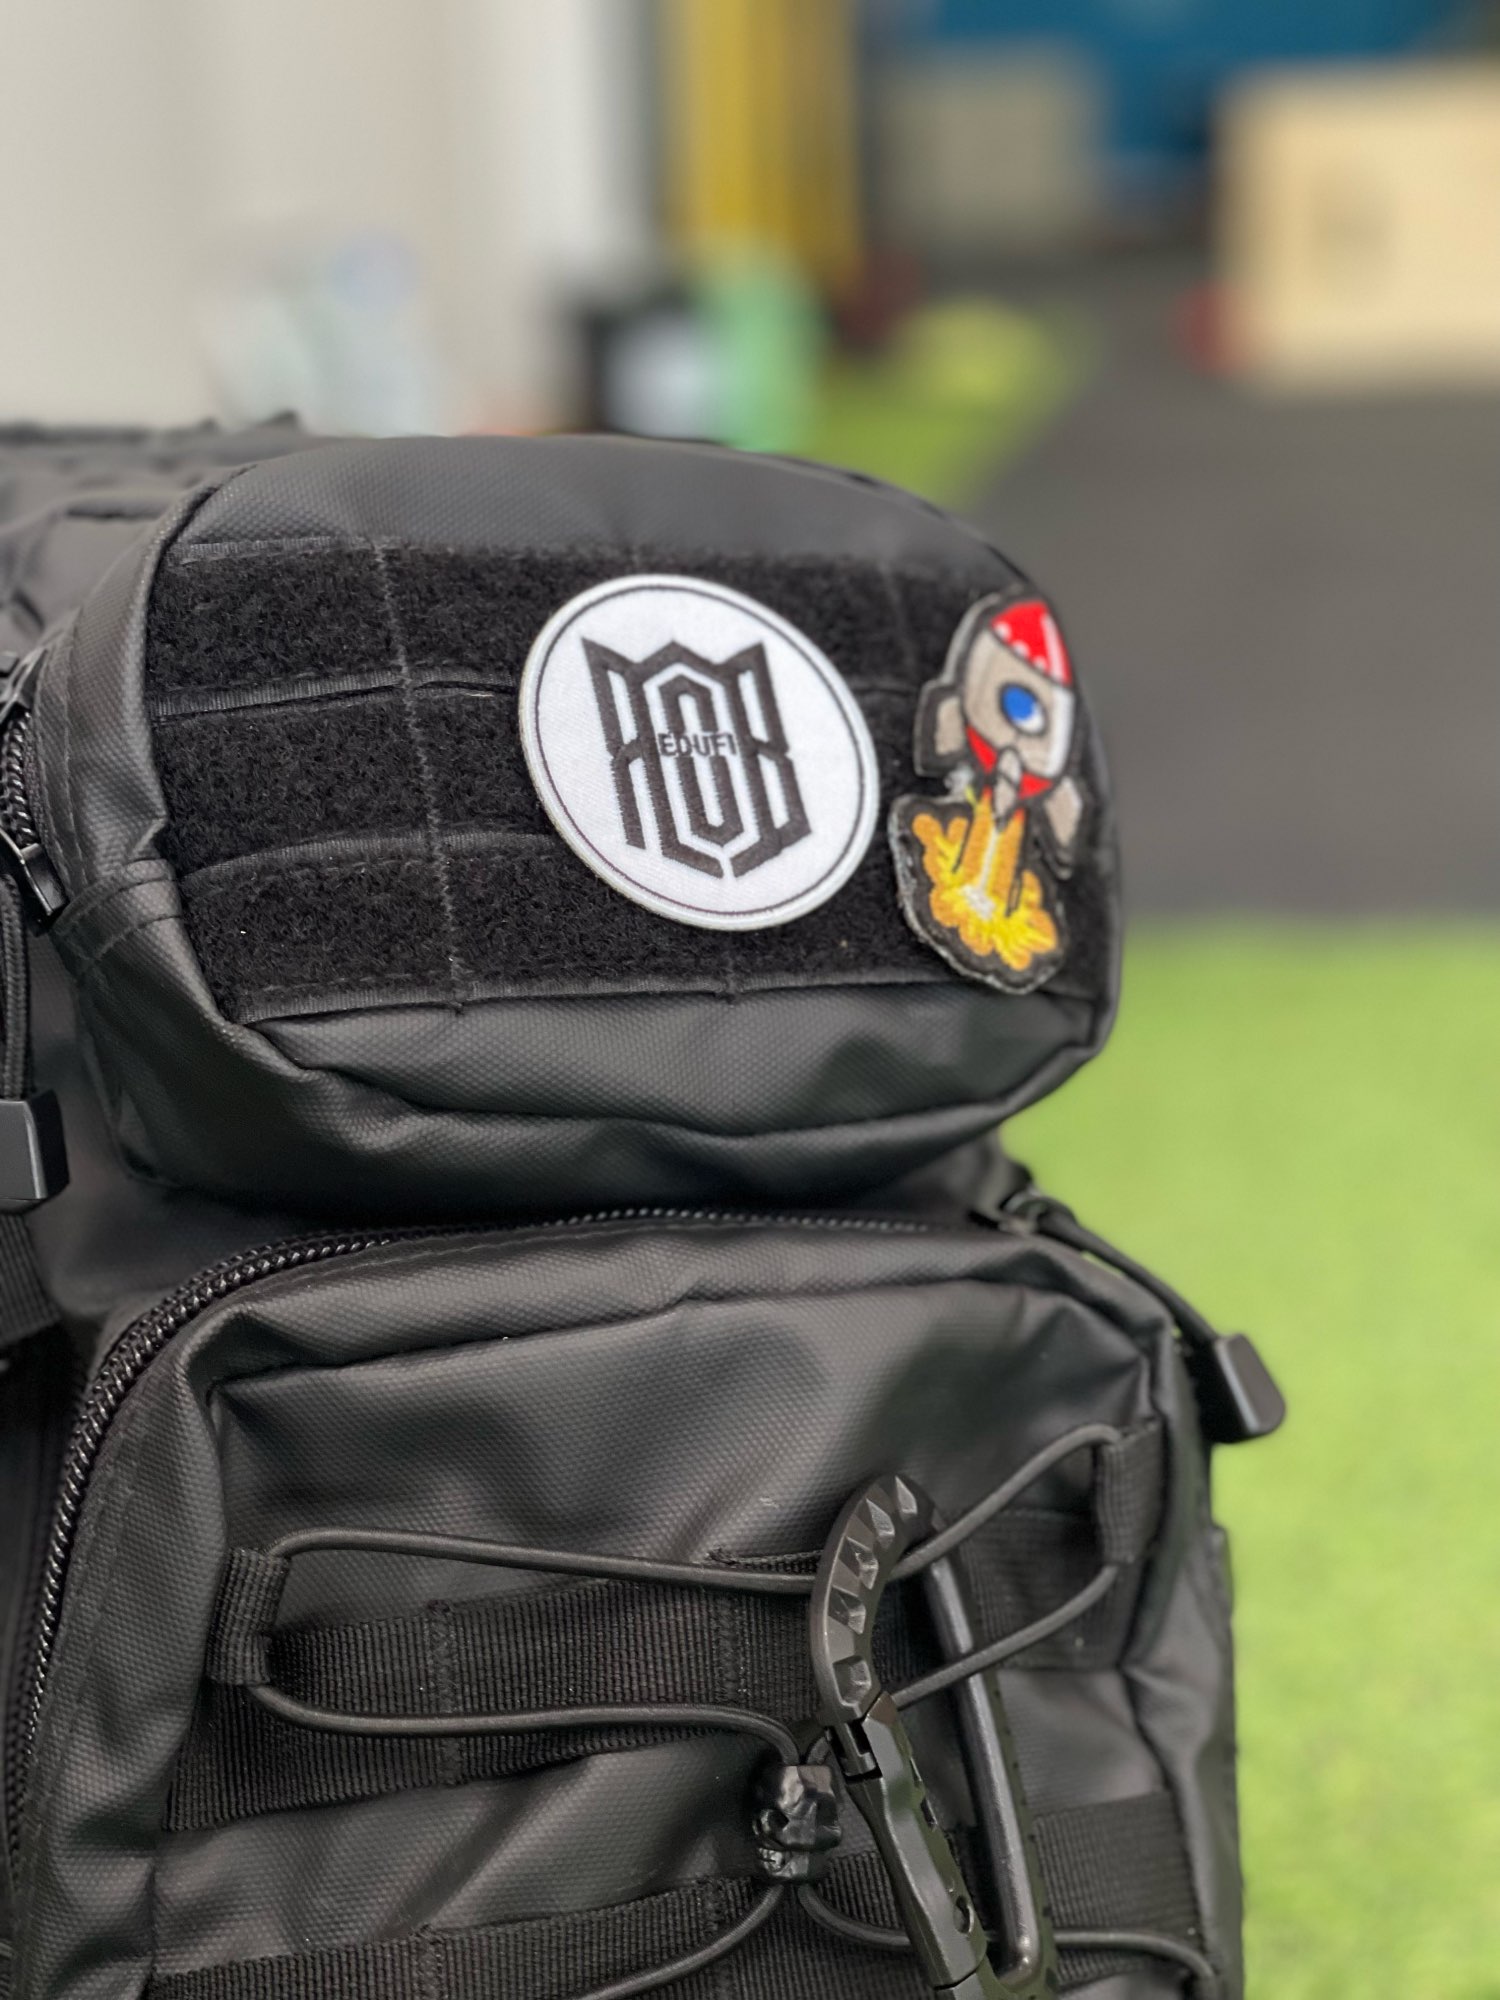 | Most bag or caps have loop side , you can put custom embroidered patches with hook side on it directly. With the loop side attached, you'll easily attach and detach custom embroidered patches without damaging your goods. If without loop side on the cloth, you can sew the loop side on. Turn your garment inside out and position the loop fabric onto your fabric in the desired location. Pin the fabric in place if necessary and sew around all four edges of the fabric. or you can also use loop ise with adhesive back. 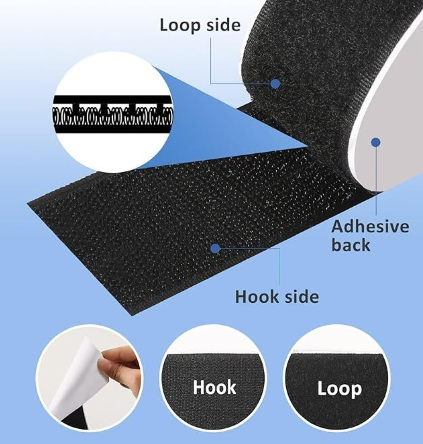 |
Other Attachment for Custom Embroidered Patches
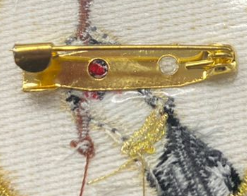 | 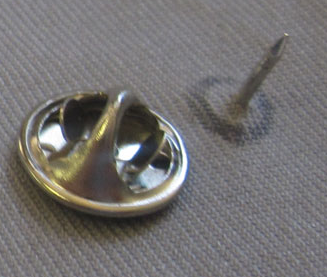 | 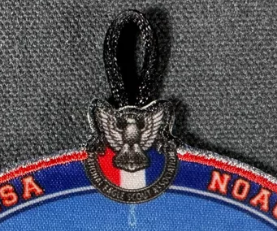 | 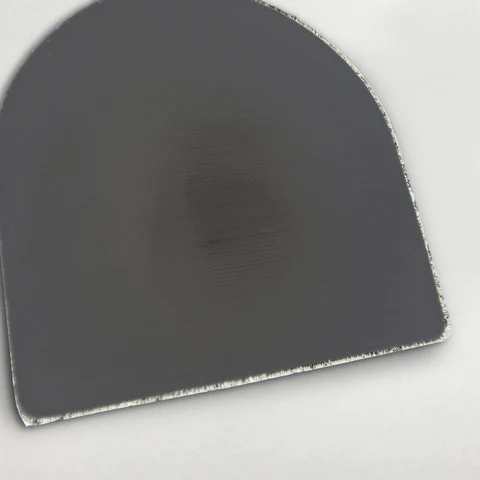 |
| Pin on | Buttfly clutch | String loop | Magnet on |
Welcome to custom embroidered badges with glow in the dark


